Photos of LTJG Fowler's' DB Attack and LTJG Tennant's Gun Camera Film
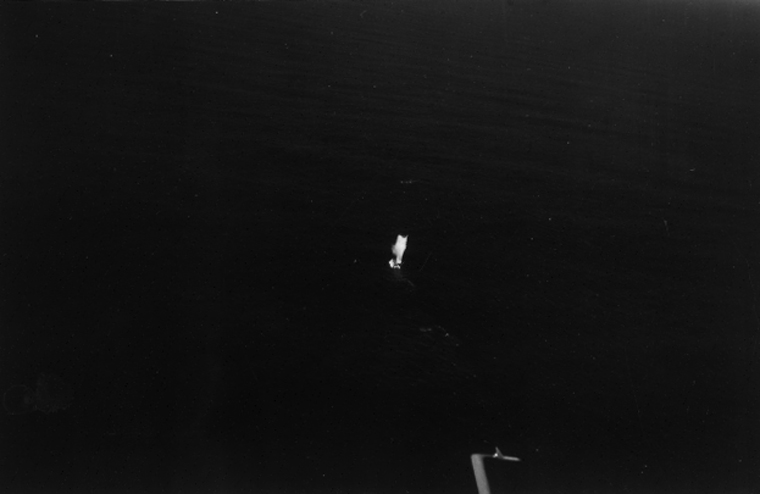
| These pictures were taken by F.W. DITTMER, ACM3c, Radioman, in Lt.(jg) STEARNS' plane of the attack of Lt.(jg) FOWLER. | |||||||||||||||||||||||||||||
|
|||||||||||||||||||||||||||||
|
Photo #1 - DBs splash as bow reappears
|
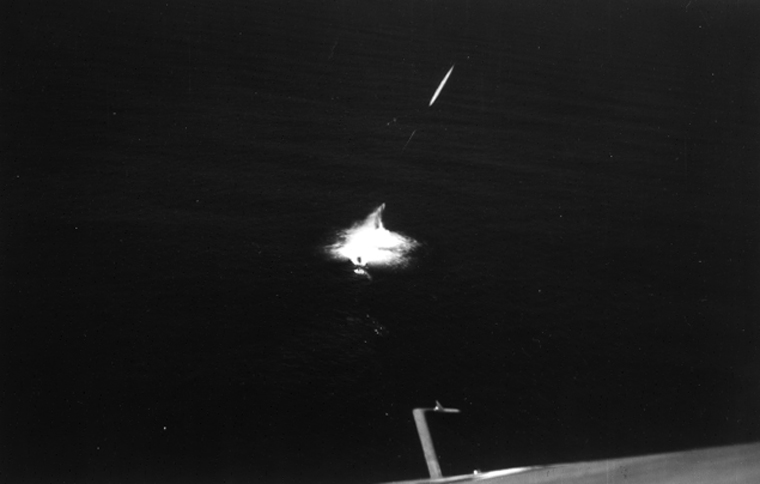
Photo #2 - Shock wave of DB explosions |
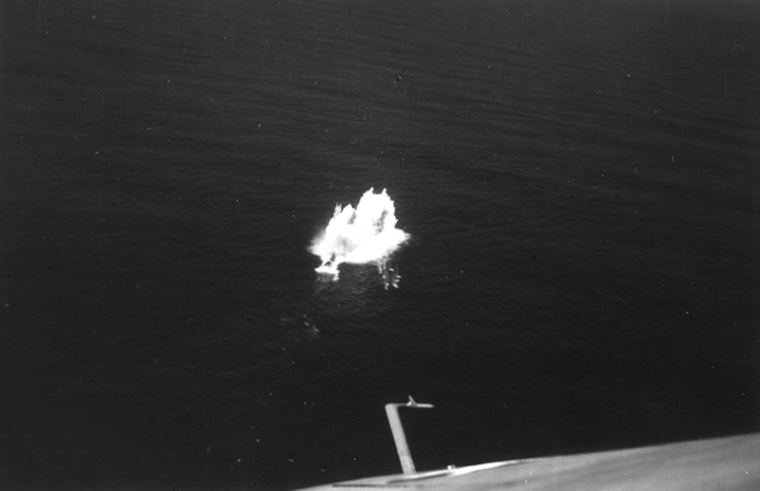
Photo #3 DB spray obscures bow of U-boat - bullets are from LTJG Stearns' turret gun |
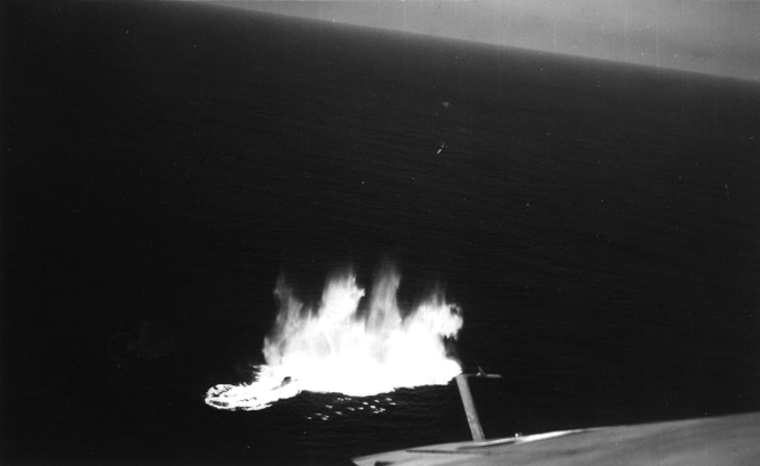
Photo #3 DB plume subsides, conning tower emerges from spray |
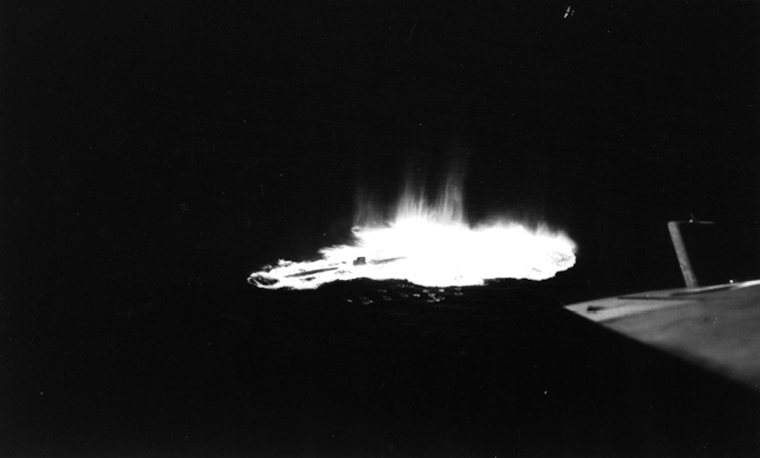
Photo #3 DB plume subsides - U-boat fully surfaced |
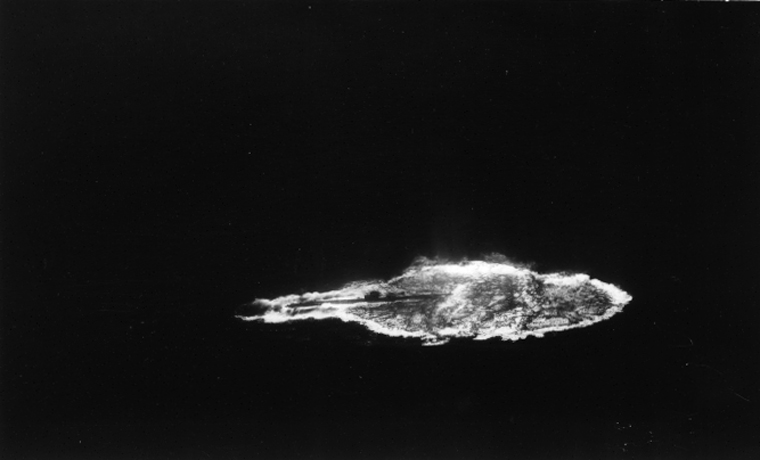
Photo #6 U-boat fully surfaced in DB slick |
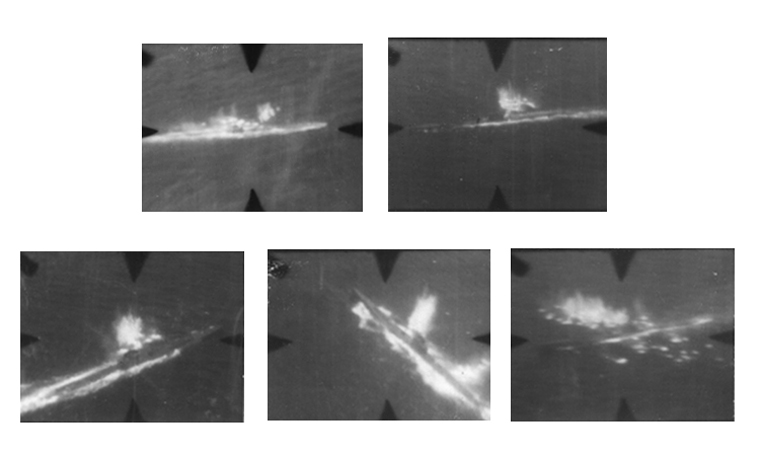
LTJG Tennant's Gun Camera Film
The pictures Lt.(jg) TENNANT took show he made eight separate attacks on the U/B. He was apparently able to do this by holding fire until at extremely close range - as each run shows the plane getting closer and closer to U/B without a trace of bullets splashing in the water until the plane is very close to U/B. This fact is shown in the first three pictures. |
|||||||||||||||||||||||
|
|||||||||||||||||||||||
After the first three pictures, each succeeding one is only shot of the height of each strafing run Lt.(jg) TENNANT made. The last picture is one of Lt.(jg) JOHNSON's strafing runs. |
|||||||||||||||||||||||
He is to be commended for holding his fire until at such close range - as it not only made the fire much more effective, but enabled him to protect the TBF's for a much longer period. |
|||||||||||||||||||||||

Photos #1, 2 and 3 (the top row, L to R) are all of the first run - Photos #4, 5 and 6 (bottom row, L to R) are of runs 2, 3 and 4 |
Photos #7 and 8 (top row, L to R) are of runs 5 and 6 - Photos #9 and 10 (bottom row, L to R) are of runs 7 and 8 - Photo #11 is one of LTJG Johnson's runs |